In this video tutorial I'll show you how to use Peach Keen Stamps to create a face on your paper doll.
Thursday, April 17, 2008
Tutorial #6 {Peachy Keen Stamps}
In this video tutorial I'll show you how to use Peachy Keen Stamps to create a face on your paper doll.
Wednesday, April 16, 2008
Tutorial #5 {using the blackout feature}
In tutorial #5 I will show you how to cut out a paper doll with the Cricut machine using the black out feature.
Friday, April 11, 2008
Tutorial #4 {piecing with the cricut}
The Cricut Machine makes paper piecing a breeze and so much fun!!
Here is how to layer a simple shape using the Cricut Machine.
I am using the Happily Ever After cartridge to cut out Cinderella's Glass Slipper.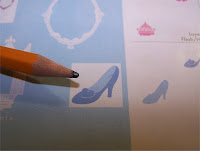
Next, I'll press the Icon button.
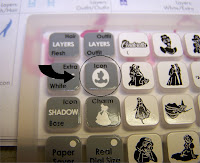
To cut this shape I'll be using the Cinderella's Frame button. I'll press that next.
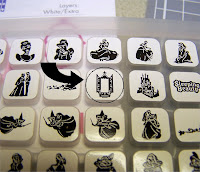
Once I have cut the base of the slipper, I'll need to press the shift key to cut the top layer of the slipper. By pressing the shift key it allows me to cut the shape in the top left of the box, in this case the top layer of the slipper. {Note: the Icon button will still be lit up, you should not have to press it again.} And the Cinderella's Frame button again, then cut.
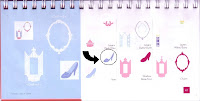
Now you have cut the two pieces of the slipper.
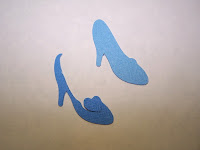
Next, you can embellish them with a little ink. I use chalk ink for a soft look.
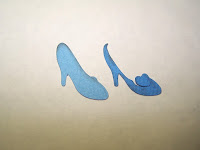
Then you simply layer one on top of the other.
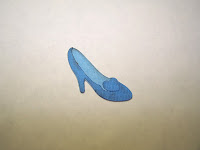
Add a little glitter bling and a pink pillow and you're done.
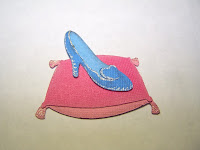
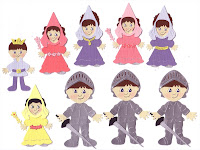
Here are a few more pieces that I have done using the Cricut Machine.

Here is how to layer a simple shape using the Cricut Machine.
I am using the Happily Ever After cartridge to cut out Cinderella's Glass Slipper.

Next, I'll press the Icon button.

To cut this shape I'll be using the Cinderella's Frame button. I'll press that next.

Once I have cut the base of the slipper, I'll need to press the shift key to cut the top layer of the slipper. By pressing the shift key it allows me to cut the shape in the top left of the box, in this case the top layer of the slipper. {Note: the Icon button will still be lit up, you should not have to press it again.} And the Cinderella's Frame button again, then cut.

Now you have cut the two pieces of the slipper.

Next, you can embellish them with a little ink. I use chalk ink for a soft look.

Then you simply layer one on top of the other.

Add a little glitter bling and a pink pillow and you're done.

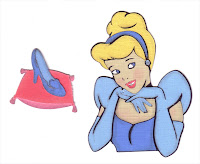
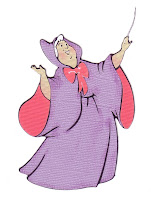
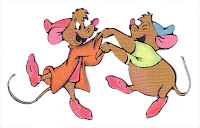
Here are a few more pieces that I have done using the Cricut Machine.


Subscribe to:
Comments (Atom)
>


